Travel Photography Tips: How to Capture Stunning Images on Every Adventure

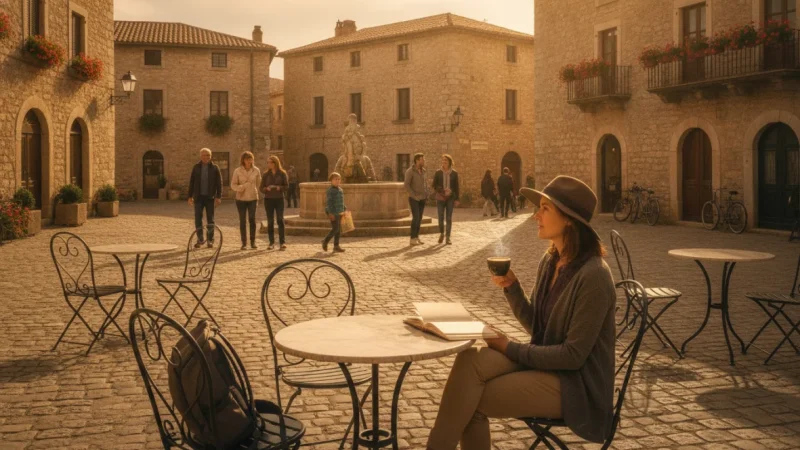
There’s something magical about flipping through travel photos that instantly transport you back to those incredible moments on the road. But let’s be honest—we’ve all returned from amazing adventures only to find our photos don’t quite capture the magic we experienced. Whether you’re wandering through bustling markets in Marrakech or standing before towering mountains in Patagonia, knowing the right travel photography tips can transform your snapshots into stunning visual stories that do justice to your wanderlust-filled journeys.
The good news? You don’t need a photography degree or thousands of dollars in equipment to capture breathtaking images while traveling. With some fundamental knowledge about gear, composition, and lighting—plus a dash of patience and creativity—you’ll be creating frame-worthy memories in no time. Let’s dive into the essential techniques that will elevate your travel photography from ordinary to extraordinary.
Essential Camera Gear and Settings for Travel Photography
When it comes to camera gear for travel, the eternal struggle is balancing quality with portability. After all, you’re exploring new destinations, not training for a weightlifting competition. The best camera settings for travel photography start with choosing the right equipment that won’t weigh you down but still delivers professional results.
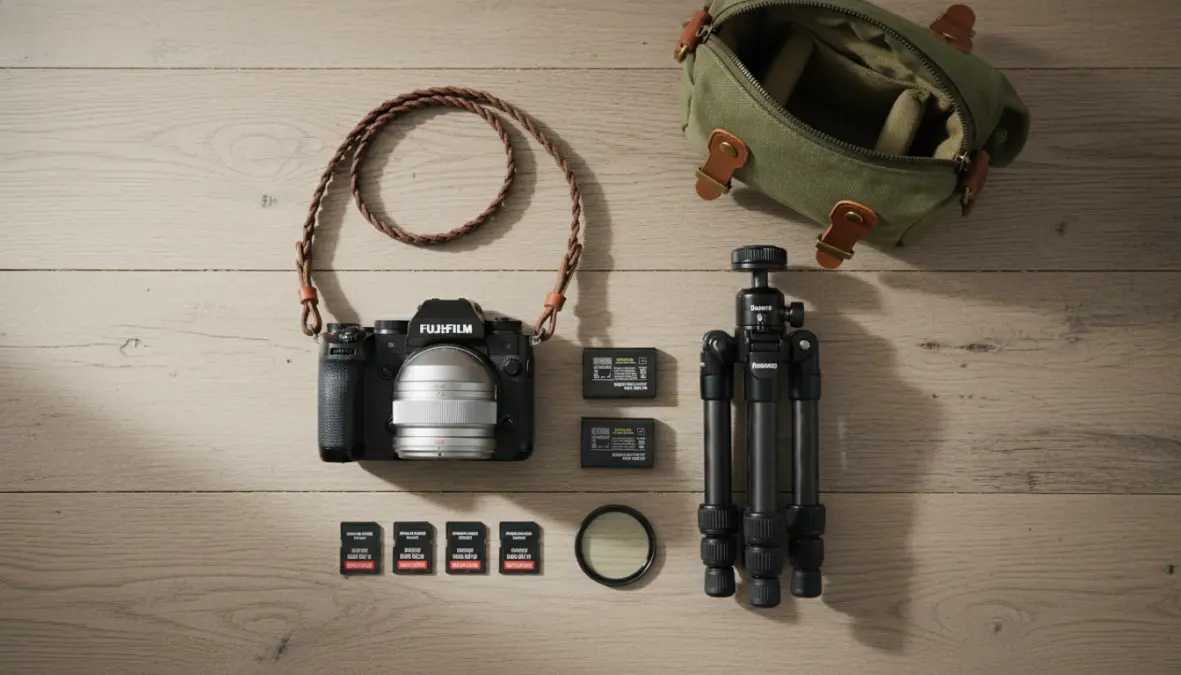
For most travelers, a mirrorless camera offers the sweet spot between performance and size. These cameras pack DSLR-quality images into lighter bodies—perfect when you’re hiking to that sunrise viewpoint or navigating crowded city streets. Pair your camera with a versatile zoom lens like a 24-70mm or 18-135mm, which covers everything from sweeping landscapes to street portraits without constant lens swapping. If budget allows, add a compact prime lens (35mm or 50mm) for low-light situations and beautiful background blur.
Understanding travel camera settings is crucial for capturing diverse situations. For landscapes, use a smaller aperture (f/8-f/16) to maximize depth of field, keeping foreground and background sharp. Action shots during adventure photography demand faster shutter speeds (1/500s or higher) to freeze movement, while slower speeds (1/60s-1/250s) can add artistic motion blur. Keep ISO as low as possible in good light (100-400) but don’t hesitate to increase it (800-3200) in dim conditions—a slightly grainy sharp photo beats a blurry one every time.
The minimalist approach works beautifully for many travelers: one camera body, two lenses, and essential accessories. Must-have gear includes a lightweight travel tripod for long exposures and stable shots, extra batteries (they always die at the worst moments), multiple memory cards (never put all your digital eggs in one basket), and a circular polarizing filter to reduce glare and enhance skies. A simple camera strap and weather-resistant bag complete your kit, protecting your investment through various climates and conditions.
Mastering Composition and Lighting Techniques
Great travel photography isn’t just about technical settings—it’s about seeing the world through an artistic lens and applying photo composition techniques that guide viewers through your images. These foundational principles separate memorable shots from forgettable ones, whether you’re capturing landscape photography tips or documenting street scenes.
Composition Fundamentals for Compelling Travel Photos
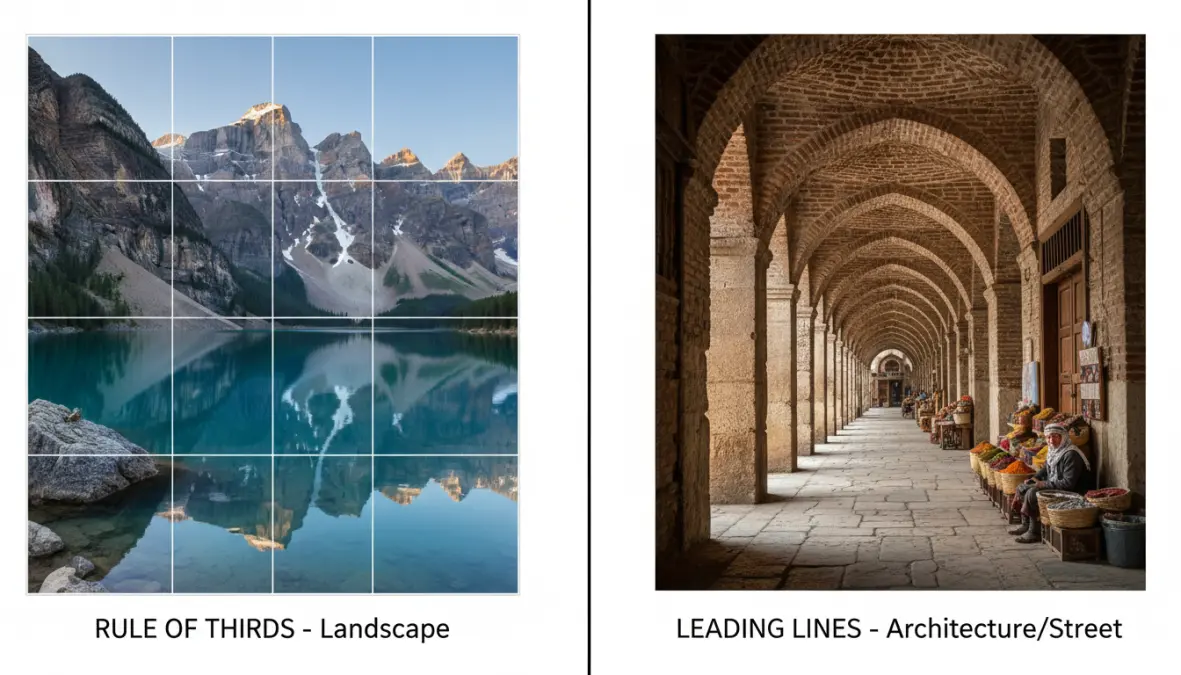
The rule of thirds remains the cornerstone of strong composition. Imagine dividing your frame into nine equal sections with two horizontal and two vertical lines. Placing key elements along these lines or at their intersections creates natural balance and visual interest. This technique works brilliantly for destination photography—position horizons on the upper or lower third line rather than dead center, or place a market vendor at an intersection point rather than smack in the middle.
Leading lines are your secret weapon for creating depth and guiding the eye through an image. Roads, rivers, fences, architectural elements, or even shadows can draw viewers into your scene. In a bustling souk, use the converging stalls to lead toward a distant archway. On mountain trails, let the path wind through your frame, creating journey and anticipation.
Don’t forget about framing—using natural elements like doorways, windows, tree branches, or arches to create a frame within your frame. This technique adds layers and context to your shots while focusing attention on your main subject. Negative space, the empty areas around your subject, can be equally powerful, giving breathing room and emphasizing isolation or scale. When photographing architecture, symmetry creates striking, almost hypnotic images that celebrate human-made perfection.
Working with Natural Light in Different Environments
Understanding natural lighting is perhaps the single most important skill in photography. The golden hour—that magical time just after sunrise or before sunset—bathes everything in warm, flattering light perfect for both landscapes and portraits. Colors saturate, shadows soften, and even ordinary scenes transform into extraordinary moments. Plan your shooting schedule around these times for truly spectacular results, especially when following golden hour photography travel tips.
Blue hour, occurring just before sunrise and after sunset, offers cooler tones and a dreamy quality ideal for cityscapes and architectural photography. The remaining ambient light balances beautifully with artificial lights, creating atmospheric urban scenes.
Harsh midday sun presents challenges but isn’t impossible to work with. In forests, the canopy diffuses light naturally. In open areas, look for shade or use your subject to backlight scenes for dramatic silhouettes. Overcast days are underrated—clouds act as a giant softbox, providing even, flattering light perfect for portraits and reducing contrast in busy scenes. Beach photography benefits from reflectors (even a white shirt works) to bounce light into shadowed faces, while mountain shooting often provides naturally dramatic lighting as clouds move across peaks.
Practical Tips for Better Travel Photography Results
Beyond gear and technique, successful travel photography tips involve smart planning and workflow practices that maximize your results while minimizing stress. These practical approaches help you capture better images consistently while protecting your work and respecting the places you visit.
Research is your best friend. Before departing, scout locations using Google Images, Instagram, and photography apps like PhotoPills or The Photographer’s Ephemeris to understand optimal shooting times and angles. Weather apps help you plan around conditions—sometimes storms create the most dramatic skies. Knowing when tourist crowds thin out can mean the difference between a cluttered shot and a clean composition.
On location, develop an efficient shooting workflow. Start wide to establish context, then move closer for details. Shoot in RAW format for maximum editing flexibility later, though JPEG works fine if storage is limited. Take more shots than you think you need—varying angles, exposures, and compositions gives you options during editing. Basic mobile editing apps like Lightroom Mobile or Snapseed allow quick adjustments for sharing on social media, while preserving RAW files for serious photo editing later.

Your backup strategy should be automatic: dual memory cards if your camera supports them, or daily transfers to a portable hard drive or cloud storage. Lost photos from a once-in-a-lifetime trip is heartbreaking and entirely preventable.
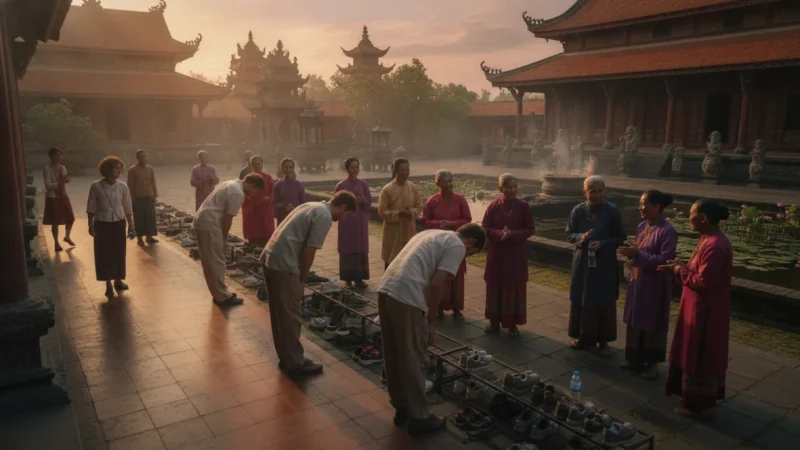
When photographing people, especially in unfamiliar cultures, always ask permission and respect when someone declines. A genuine smile and gesture goes far, even without shared language. Learn basic phrases like “May I take your photo?” in local languages. Understanding cultural sensitivities around photography isn’t just courteous—it’s essential. Some communities have restrictions on photographing religious sites, women, or children.
Patience separates good travel photographers from great ones. That perfect light, clear foreground, or decisive moment often requires waiting. Don’t hesitate to return to a location multiple times—conditions change, and sometimes the third visit yields the shot you envisioned. Finally, keep your camera equipment secure and insured, use camera straps, and stay aware of your surroundings, especially in crowded tourist areas where theft is common.
FAQ
What camera settings should I use for travel photography?
For general travel photography tips, start with Aperture Priority mode (A or Av). Use f/8-f/11 for landscapes to maximize sharpness throughout the frame, f/2.8-f/5.6 for portraits to blur backgrounds, and Auto ISO to maintain proper exposure. Keep shutter speed above 1/125s for handheld stability, faster for action. Adjust based on specific situations and lighting conditions.
What is the best camera for travel photography?
The best camera for travel photography balances image quality with portability. Mirrorless cameras like Sony A7 series, Fujifilm X-T models, or Canon EOS R series offer excellent performance in compact bodies. However, even high-end smartphones produce impressive results for casual travelers. The best camera is ultimately the one you’ll actually carry and use consistently.
How do I take sharp photos while traveling?
To ensure sharp travel photography, use fast enough shutter speeds (minimum 1/focal length—so 1/50s for a 50mm lens), stabilize your camera with proper grip or a tripod, enable image stabilization if available, use single-point autofocus on your main subject, and shoot in good light when possible. Taking multiple shots increases your chances of getting a perfectly sharp keeper.
Do I need expensive gear for great travel photos?
Absolutely not. While professional camera gear for travel helps, understanding composition rules, lighting, and storytelling matters far more than equipment cost. Many award-winning travel photographs were captured with modest gear or even smartphones. Master the fundamentals first, then upgrade equipment as your skills and specific needs develop. Creativity trumps cost every time.
How do I photograph landscapes and people together?
Combining people with landscapes creates powerful visual storytelling. Use a moderate aperture (f/5.6-f/8) to keep both reasonably sharp, position people at interesting points following the rule of thirds, and ensure they add scale or context rather than distract. Have subjects interact with the environment naturally—looking at views, walking trails, or engaging in activities—rather than simply posing in front of scenery.
Whether you’re just discovering how to take better travel photos or refining your existing skills, remember that the best photography techniques serve your creative vision. Every destination offers unique opportunities for stunning imagery—from sweeping vistas perfect for landscape photography tips to intimate moments that capture the essence of a place. Pack your camera, apply these principles, and let your adventures unfold through your lens. The world is waiting to be captured, one incredible frame at a time. For more inspiration and tips on your creative journey, check out our latest photography insights.